A Beginner's Guide to the Proper Hardwood Floor Installation Tools
Are you finally ready to install your new hardwood floors?
Installing hardwood floors can feel intimidating when you think about all the work and supplies you will need to complete the job. Once you have made the purchase, you may feel that the hardwood can take care of itself once it is down. But, that's far from the case.
Proper installation of your hardwood will increase the lifespan of your investment. But, the lifespan can increase with the right hardwood floor installation tools.
Below, we have outlined each tool you will need to install hardwood flooring successfully.
Safety Gear
Safety comes first. When working on your hardwood flooring, wear essential safety gear. Safety glasses protect your eyes from dust and debris. Ear protection shields your ears from loud tool noises.
Dust masks help you breathe by preventing dust inhalation. Knee pads offer comfort and protect your knees from discomfort during prolonged work.
Measuring and Layout Tools
Precise measurements are crucial. To ensure a successful installation, use these tools. A tape measure helps you measure your room, determining the amount of wood needed.
The chalk line ensures a correct starting point. A carpenter's square ensures your corners are perfect at 90-degree angles, resulting in a tidy finish.
Subfloor Preparation Tools
Before you start installing hardwood floors, prepare the subfloor properly. A moisture meter checks if the subfloor is too wet, which can cause issues later.
A level helps identify uneven spots on the subfloor, enabling you to fix them beforehand. A pry bar is a handy tool for removing baseboards and old flooring, providing a clean surface to work on.
Cutting and Fitting Tools
A miter saw or circular saw allows precise cutting of wood to the desired length. A jigsaw is like a puzzle piece maker, ideal for cutting wood into fancy shapes around obstacles. A table saw is perfect for slicing narrow strips of wood.
To secure wood to the subfloor, you'll need a flooring nailer or stapler, available in various types. Finally, wood putty is used to fill gaps and holes between pieces, creating a seamless appearance.
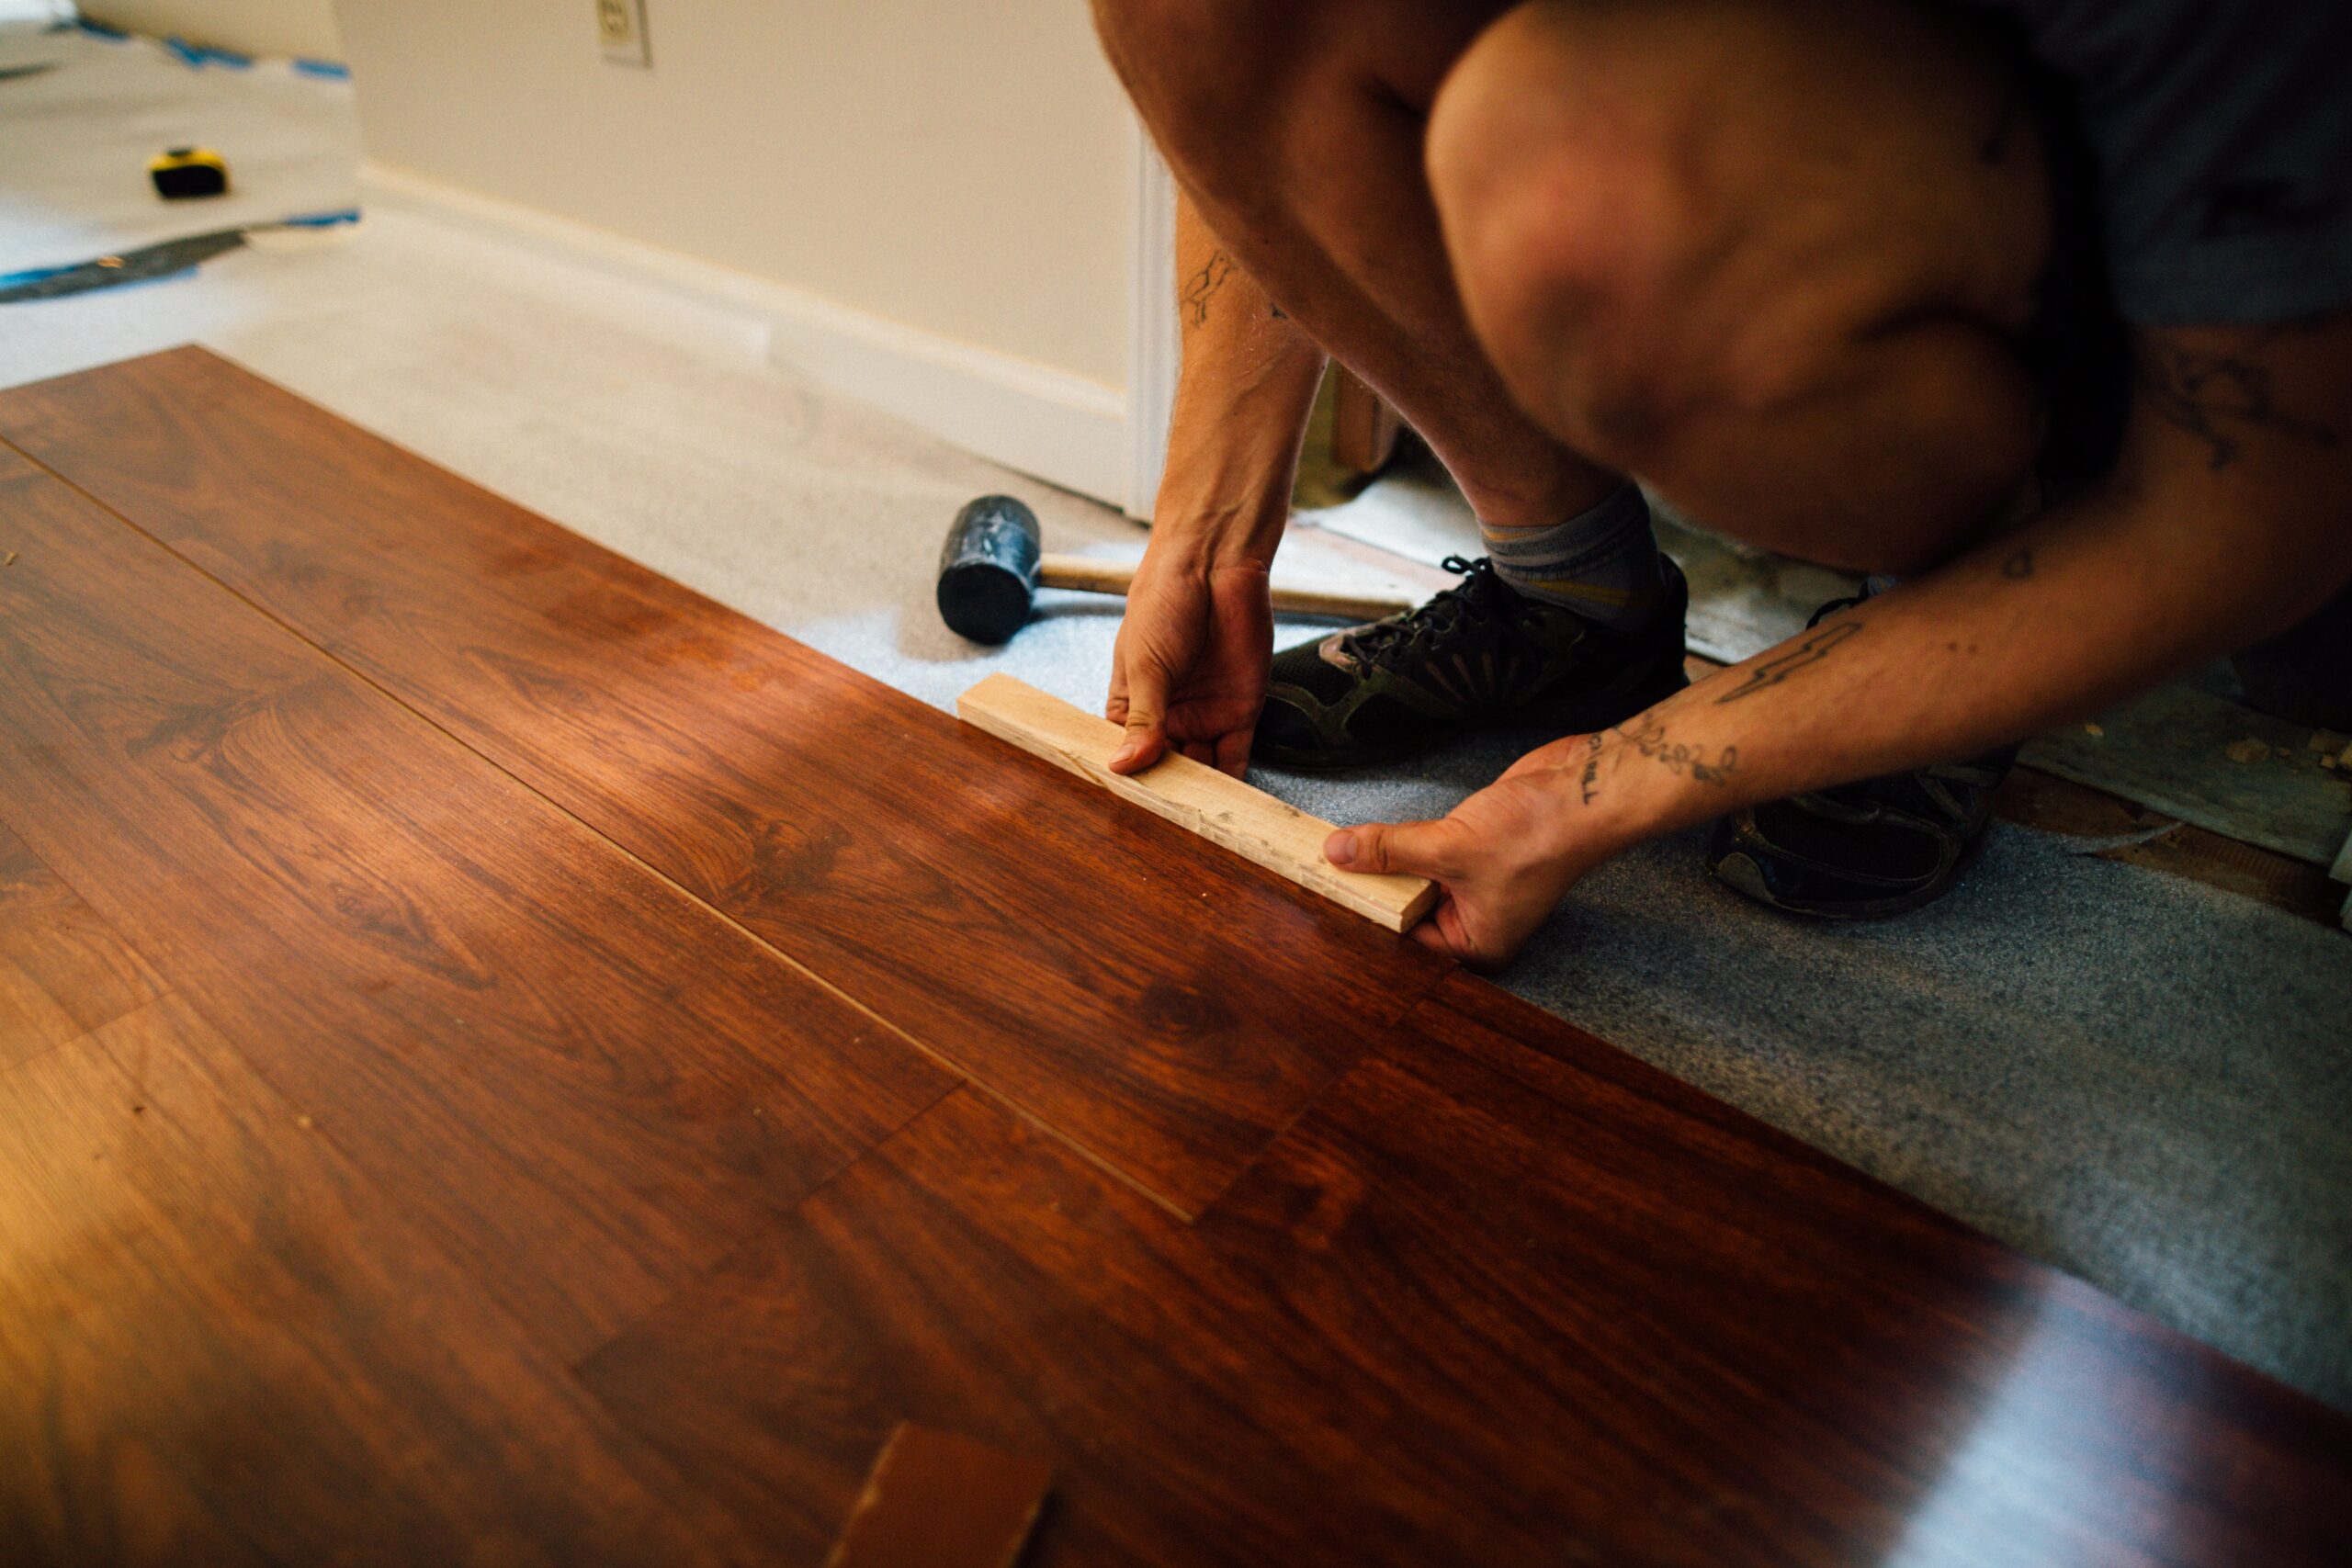
Installation Aids
Flooring spacers help maintain consistent gaps between wood pieces. This ensures a neat appearance and allows for expansion and contraction.
A tapping block and pull bar assist in fitting wood pieces together and closing gaps during installation. A dead blow mallet is used to gently tap the wood into place without causing any damage.
Finishing and Maintenance Tools
These tools help complete the project and keep your floors looking great. You'll use your flooring nailer or stapler again to secure the final rows of flooring. Sanding equipment, including a floor sander and edger, helps make the wood smooth and even.
Regular maintenance is vital, so keep a broom and vacuum cleaner on hand for routine cleaning. These tools will help you preserve the beauty of your hardwood floors for years to come.
For all your flooring needs, visit Appaintingandflooring.com for a trusted source of quality products and expertise in flooring installation.
Use the Right Hardwood Floor Installation Tools Today
Knowing the proper hardwood floor installation tools is crucial for the success of your project. With this guide, you now have a better understanding of the various tools needed for efficient and effective installation. Remember to always use the right tools and techniques to achieve a flawless hardwood floor.
Ready to get started? Start building your toolkit today and elevate your DIY skills!
For more helpful, interesting, and fascinating reading, keep exploring our blog for more!