
How to use a DSLR and a Selfie Tripod
DSLRs and selfie tripods are the need of the hour. The world is on digital dependency, and DSLRs and selfie tripods serve the basic requirements to step foot in this world.
With the fast-paced digital marketing and content creation world, you need to learn how to use specific tools and equipment. If you do not know how to use a DSLR and a selfie tripod, you are a brick short of a load.
But fret not! We are here with the most accessible guide to using a DSLR and a selfie tripod. Learn how to use a DSLR and a selfie tripod separately in this blog.
Guide to Learning how to use a DSLR
If you are someone who just ordered a DSLR and is passionate about photography and wondering how to get started with it, here is a step-by-step guide on how to use a DSLR.
If you are new to photography and DSLRs, then you have landed on the right web page. Here you will know all the details about your first DSLR and ways to explore it even better.
First things first, the outline of this guide is:
- Shooting Modes
- ISO
- Focusing
- Exposure
- File types and sizes
Here is the detailed explanation on the above topics:
ISO
The ISO is about your camera’s light sensitivity. The ISO ranges from 100 to 6400, which is from a low level to high-level sensitivity. It controls the amount of light needed by the sensor to fix the exposure.
Low sensitivity means that more light is required to achieve the desired exposure, while high sensitivity means less light is needed to achieve the same exposure.
For instance, your camera will require a low sensitivity number (could be 100 or 200 ISO) on a bright outdoor shoot to reach the desired exposure because the light is sufficient. Whereas your camera will require a high sensitivity (3200) number in a dim indoor shoot at night to reach the desired exposure.
The higher the light, the lower the sensitivity and vice versa. However, the high sensitivity can create a lot of noise (grain looking) on the image taken.
Shooting Modes
Shooting modes are a DSLR’s central point. Therefore, they need to be learned properly. Your DSLR comes with a dial labeled with the shooting modes typically known as; auto, Av, Tv, P, M or A, S, P, M
A shooting mode determines what kind of image you are looking forward to. Let us learn all these modes separately to comb what they got finely.
Aperture Priority (Av or A)
The Aperture Priority, also known as Av or A, is a partially automotive mode. In this mode, your camera decides for itself and automatically fixes shutter speed and the aperture (the opening of the lens).
You must be wondering what aperture is? An aperture is a measurement of how much of the image needs to be focused. An aperture is measured in ‘f-numbers’ in your camera. The higher the aperture, the smaller the area required to focus. For instance, a small aperture (larger f-number) will shoot a larger area in focus and vice versa
Shutter priority (Tv or S)
The shutter priority is also a partially automotive mode. As the name suggests, the shutter speed needs to be set first, and the camera will automatically adjust the aperture.
What is a shutter speed? The shutter speed is the time your camera’s shutter opens to enter the light. The less the shutter opens, the less the light enters through the sensor. You would need a short shutter speed for moving things.
Manual (M)
Manual mode, as the name suggests, gives total control to the user and is not automotive. You are free to set your shutter speed, exposure, and aperture. Your camera will tell you how much under or overexposure you are so that you can fix it.
Program (P)
In the program mode, you can set one of the aperture or shutter speeds, and your camera will set the exposure. For instance, if you select a shutter speed yourself, your camera will adjust the aperture accordingly.
Exposure
The exposure is the fusion of all aperture, shutter speed, and ISO. These three control the light required by the camera or the light provided to the camera.
The interlinking quality of these three features creates a dependency of one feature on another. For instance, a change in the shutter speed will affect the light entering the camera and the aperture and vice versa. You need to alter all these to keep the exposure in balance.
DSLRs come with an automatic mode where the exposure can be adjusted itself, but you can also do it manually.
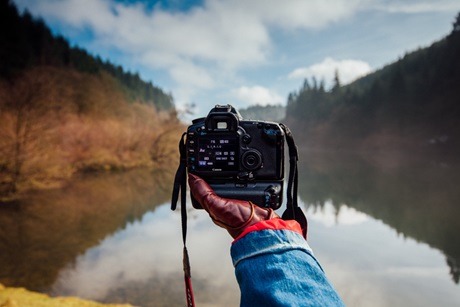
Focusing
There is always a subject of focus in photography. The focused picture defines your subject. DSLRs have auto-focus modes which further have two types: AF-C and AF-S.
AF-C is the continuous auto-focus. This type of focus is best used for subjects that are in motion. You can lock the focus on your subject by pressing the shutter half which makes the focus move with the subject. Therefore, a good photograph will be captured.
AF-S is the auto-focus singular. It is used to take photos of still things and subjects. When you half-press the shutter, the focus will be locked there until you hold the button.
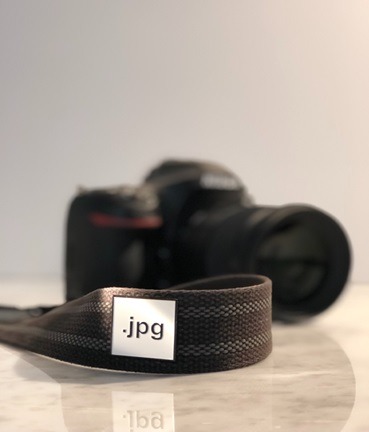
File sizes and types
You always have an option to what kind of file size you want. You can choose from ‘large,’ ‘fine’ and ‘superfine.’
You can also choose between a jpeg (compressed) and a raw (uncompressed) file. The files can be printed directly from the camera.
Those are the basics of how to use a DSLR. To give a beginner's tip all these above-mentioned properties of your camera focus around light. For an affordable lighting solution, you can easily use a selfie light ring. It is an affordable option that enables you to create studio-quality images without the need for softboxes or other expensive lighting options.