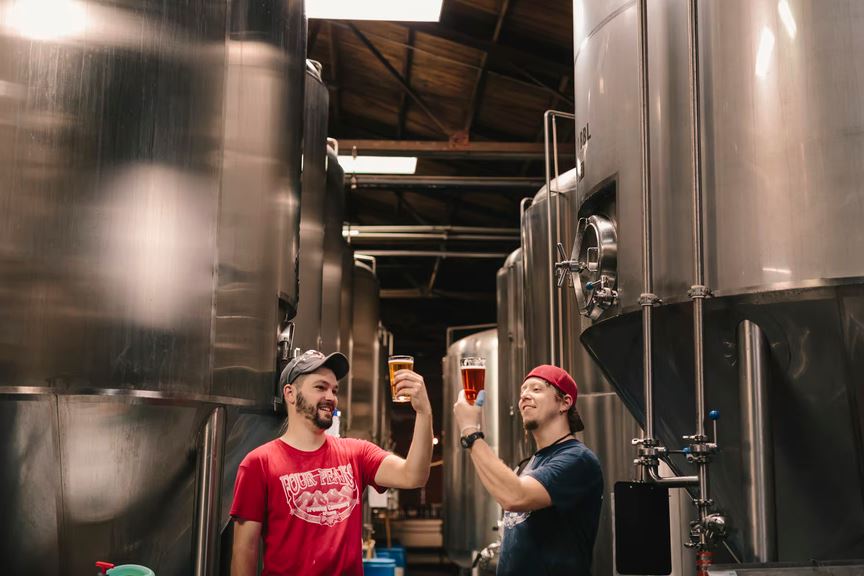
Ideas for Crafting Beer at Home
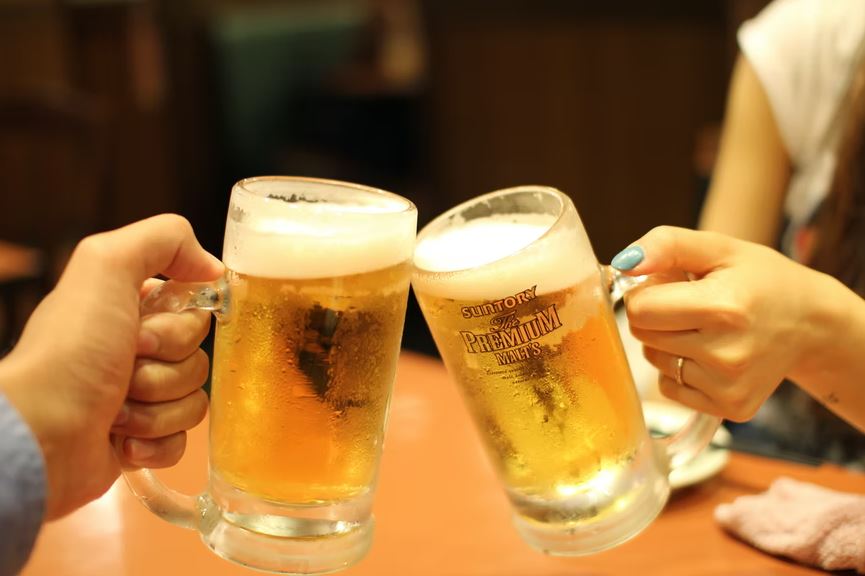
Are you a beer enthusiast? Well, if you love a good beer, you've probably thought of being able to brew your own beer. Although it may look hard, the good news is that it is easier than it seems. Brewing beer isn't a magical process, but drinking a good one is. Beer is made by fermenting grains or malt extract with hops, yeast, and water for a week to a month. That's all there is to it. Other components may be added at different stages depending on the type and flavor of beer you're making, but the four essential ingredients remain the same.
It's entirely up to you how committed – both monetarily, and in terms of time, you want to be. You can start small by purchasing an all-in-one beer-making kit, or you can build your brewery from the ground up in your garage or spare room.
Just like fine wines, there are a lot of factors to consider when crafting great-tasting beers. One of the most enjoyable aspects of beer brewing is the ability to tailor the beer to your personal preferences or others with whom you spend time. Due to the surge in popularity of homebrewing, all of the necessary equipment and materials are now readily available, and the internet offers numerous sites with guidance and recipes, so you may soon have a ready supply of brews at home.
So, if you want to try your hand at brewing craft beer at home, we'll show you how in this post.
Two Types of Brewing Process
All-grain brewing and extract brewing are the two types of beer-making procedures. Both rely on the same basic concept: yeast consumes grains from malted (partially germinated) to produce alcohol and CO2.
- All-Grain Brewing: Milled grains are soaked in hot water to extract the sugar in the all-grain brewing method. This method of brewing takes a little longer and needs more upfront equipment expenditures. Still, it provides more brewing variables to play with as you create your preferred flavors, colors, and stoutness, opening up a whole new universe of brewing possibilities.
- Extract Brewing: Because it involves less equipment, extract brewing is faster, easier, and more cost-effective in the beginning. Extract brewing eliminates the need for grains to be steeped. Instead, brewers use a malt extract that has already been prepared. Many first-time homebrewers use this system. The disadvantage of extract brewing is that you don't have as many variables to play with, limiting your ability to be creative in your brewing.
What Will You Be Needing?
Now that you've decided to start brewing at home, you'll need to purchase the necessary equipment. You'll need many large vessels and other items for all-grain brewing. You can also purchase your set-up as a complete kit that includes all of the necessary elements. This could be a great alternative for individuals who are just getting started.
You may make the malting process easier and cleaner by suspending the cooking grains in a reusable, fine-mesh brewing bag for all-grain brewing. It's like a giant teabag, and it saves you money by eliminating the need to purchase and clean another kettle.
Next is to purchase stainless steel or PET plastic fermenting container for the fermentation procedure. If you use plastic, clean it thoroughly so that it does not become scratched, as this will interfere with the fermentation process.
Afterward, you may need to purchase a three-piece airlock and a well-fitting silicone stopper to guarantee an airtight closure on the fermenting tank. If your vessel is stored in a cool area, you may need to acquire a heating wrap. However, if your room is already warm, you may require a cooling system. You'll also need a hydrometer, which will let you determine when the fermentation process is complete and when it's time to bottle.
Glass bottles and caps, a bottling wand, a capper, and tubing to transfer the beer into bottles are among the bottling supplies you'll need. Cleaning and sanitizing previously used commercial beer bottles can save money, but make sure the caps and cappers you buy fit.
You'll also need beer ingredients like malt, hops, yeast, and water, as well as any other ingredients your recipe requires, including chocolate, honey, oak, lactose, coconut, or spices.
The Steps of Brewing Process
1. Maceration: The initial stage in this process is maceration. To begin, place the barley malt in a pot or vessel of boiling water and heat it to seventy degrees. Remember to use three liters of water for every kilo of barley malt. Slowly stir the mixture while it heats up to avoid lumps.
2. Boiling: Boiling for an hour is your next step after getting the right mixture on the first step. You'll need to gradually add the hops to the solution while this procedure is going on. The idea is to give the beer its particular flavor by adding bitterness. To get the leftovers to settle to the bottom of the vessel after boiling, you'll need to stir.
3. Cooling: Next is to move the beer or boiled wort to a fermenter. The objective of this step is to lower the temperature. Also, this procedure is straightforward and can be carried out in a variety of ways.
Additionally, you can put it in ice to swiftly drop the temperature without the water or ice coming into direct contact with the liquid. Another alternative is to pour the beer via an ice-cold copper pipe, but the first option is usually the most popular one.
4. Fermentation: This stage entails placing the mixture in a container for fermentation. Many kits include a fermenting container, although it can also be placed in a jerrycan of water.
Afterward, fill the container with yeast. The purpose of this is to turn the wort's sugar into alcohol. Don't forget to add an air outlet to the container, but make sure it can't let any air inside. This is commonly referred to as an air trap.
Interestingly, it normally takes ten to fifteen days for the fermentation to last. It is recommended that the container be kept at a temperature of around 19°F and in a dark location for best effects. After that period of time, you will then have the beer without the gas.
5. Ripening: Now that the beer is gas-free, you must transfer it to a new container to remove any yeast beds. To achieve the best effects, you should execute this technique cold and rest for about a week.
You'll also have to do some natural carbonation as part of this procedure. More so, you'll need to produce a syrup to accomplish this. It's possible to do it with only seven grams of sugar per liter. Put the sugar in a small amount of water and bring to a boil for a few minutes.
When it's ready, add it to the solution and mix it thoroughly, avoiding as much contact with air as possible to prevent oxidation. Now you must fill the bottles with beer and set them aside for ten days to rest.
The beer will almost certainly be ready during this time, though you can wait another day if you want to be sure. If gas comes out when you pour a bottle of beer, it's ready.