
Baking is an art form where imagination rules supreme rather than a science. It can result in extraordinary outcomes, most of which are advantageous. Learning this talent is a blessing for people who must always satisfy their sweet taste. Even on the toughest days, it can put you in a good mood and miraculously transport you from Earth to Heaven. The best aspect is that it moves quickly!
Most cooking shows would have you assume that baking is just for professionals, but some own experience indicates otherwise.
Yes, you will have to work hard, and you will need to be careful with your materials, quantities, and technique, but that should not deter a beginner from trying their hand at this lovely, creative pastime.
Just imagine turning on your oven to discover that your freshly cooked scones are filling the house with a delectable scent. You know that you must wait a long before attempting to eat one since they are exquisite but quite hot. As soon as they have cooled, you take a mouthful and get a “foodgasm,” as it is known in the culinary world. It is not what you think. Bliss!
The idea that cooking is 90% chemistry, and 10% art is heavily emphasized in nearly every culinary lesson. For a consistent outcome, recipes are to cooks what formulae are to chemists: they are vital instructions. A sprinkle of baking powder may make the difference between a birthday cake and a pancake, much like a chemist is only one ingredient away from catastrophe. Cooks must always try to follow instructions exactly for reliable outcomes.
Proportion is one essential culinary ingredient that recipes offer. Although a chef may already be familiar with the essential elements of a pancake batter, such as flour, eggs, and milk, only recipes provide the correct proportions between the ingredients. Some recipes ask for two eggs rather than one or three for a reason. Professional chefs who produce these recipes are already aware of how much flour may be added, for instance, to a specified amount of milk. Cooks who do not understand the right component proportions suggested by recipes are likely to produce sticky heaps of bread dough rather than waffle batter.
Consistency is another advantage of following recipes. A novice cook could explore the kitchen and come up with a special dish or sauce, but it might be difficult to replicate. The technical and creative components required to consistently create and recreate a good product are all provided by recipes. Cooks may be motivated to alter some of the ratios or flavorings, but the fundamental formulas will consistently yield the intended outcomes. Cooking periods, temperature settings, signals of doneness, and serving directions are all significant technical notes in recipes.
We will give you some advice in this article to ensure your cakes always turn out beautifully and perfectly. We will go through everything you need to know to become a confident and effective cake baker, from preparing the materials to resolving typical problems.
Tips for Preparing Your Baking Ingredients
Start with the correct ingredients
Make sure you have all the necessary ingredients on hand before you begin baking. Many home bakers make the error of using the incorrect kind of sugar. Make sure you choose the right one for your recipe. For instance, Powdered Sugar must be used in place of the granulated variety while making Classic Buttercream Frosting. It is perfect for making smooth glazes and frostings because of its fine, powdered nature.
Use room temperature ingredients
Bring chilled ingredients like butter, eggs, and cream to room temperature before using them in dishes like the Classic Chocolate Cake. To achieve this, it is advised to remove these ingredients from the refrigerator for at least a few hours before you intend to bake. This will facilitate the even mixing of the ingredients, giving your baked items a consistent texture.
Accurately measure the ingredients
Nothing is more crucial while baking than using accurate measures. It sometimes boils down to whether you have a good handle on basic measuring procedures for some recipes. A few measurement tips for your kitchen are as follows:
- Fluff Flour & Powdered Sugar – Use a fork to fluff up the item before spooning it into a dry measuring cup. This will guarantee that there are no air pockets or clumping.
- Brown sugar – Brown sugar must be compressed into the measuring cup before being measured. To achieve this, fill the measuring cup to the top and press down repeatedly with your fingers or a spoon. Note: When withdrawn from the measuring cup, brown sugar ought to maintain its form.
Weigh the ingredients
Using a conventional measuring cup, it might be difficult to measure some ingredients, such as crushed nuts. It is advised to use a small kitchen scale for dishes. This will always provide you with accurate measurements.
Sift dry ingredients before mixing
Sifting dry ingredients before combining them is a popular baking and culinary method that can enhance the finished product’s texture and consistency. Sifting can assist to make the final product lighter and fluffier by incorporating air into the mixture as well as removing any lumps or clumps from the dry ingredients.
Dry ingredients like flour, baking soda, baking powder, and cocoa powder can be broken up into any lumps or clumps that may have developed during storage by sifting them through a fine mesh screen or sifter. This makes it easier for the dry components to combine with the liquid ingredients and helps to ensure that they are spread uniformly throughout the mixture.
Choose and prepare the right pan
Always be sure to use the pan that the recipe specifies. Since baked products expand in volume while baking, using a pan that is too small can cause your cake to overflow. Before beginning the recipe, prepare the pan you have selected. Use the baking spray to coat the pan’s inside (bottom and sides). Alternately, you may butter-grease the pan, sprinkle it with flour, and then tap it while turning it to remove the extra flour. Make sure the pan’s inside is completely covered, including the bottom and all edges.
Tips for Mixing the Batter
Basic cake ingredients are combined during the batter-mixing process to create a smooth, aerated, and semi-fluid mass that may be poured or deposited into pans.
Dough mixing and batter mixing are very dissimilar. This is because the amounts of water, oil, sugar, and eggs are substantially higher in cake formulations than in bread formulations, creating a completely distinct system after mixing.
The primary purpose of batter mixing, in contrast to bread systems where dough formation is the major objective, is to create a stable and viscous oil/water emulsion that contains air in the form of finely dispersed gas cells.
A multi-phase combination is something like a batter. The aqueous phase of the emulsion contains water-soluble substances such as salts, egg proteins, chemical leaveners, and sugars that are colloidally suspended in the flour particles. Usually, air molecules that are particularly unstable and poorly soluble are stuck in the fat phase.
Properly cream butter and sugar
- Start with softened butter
- Use the correct proportions
- Beat butter until light and fluffy
- Slowly add the sugar
- Check for proper texture
It will assist your baked items to have a light, airy feel if you cream the butter and sugar properly. Take your time and pay close attention to every step because it is vital to many recipes.
Add eggs one at a time
- Crack one egg into a separate bowl
- Add the egg to the mixture
- Scrape the sides of the bowl
- Repeat with the remaining eggs
The batter will stay smooth and well-blended if the eggs are added one at a time and are thoroughly integrated into the batter. Additionally, it will help keep the mixture from being too thick or dense.
Add dry and wet ingredients alternately
- Start with dry ingredients
- Add the wet ingredients
- Continue alternating
- Scrape the bowl
By alternating between adding the wet and dry ingredients, you can avoid making the batter overly wet or too dry and make sure that all of the components are thoroughly combined. Avoid overmixing the batter as this might result in a thick or tough end product. A light and tender outcome will be obtained by mixing only until incorporated.
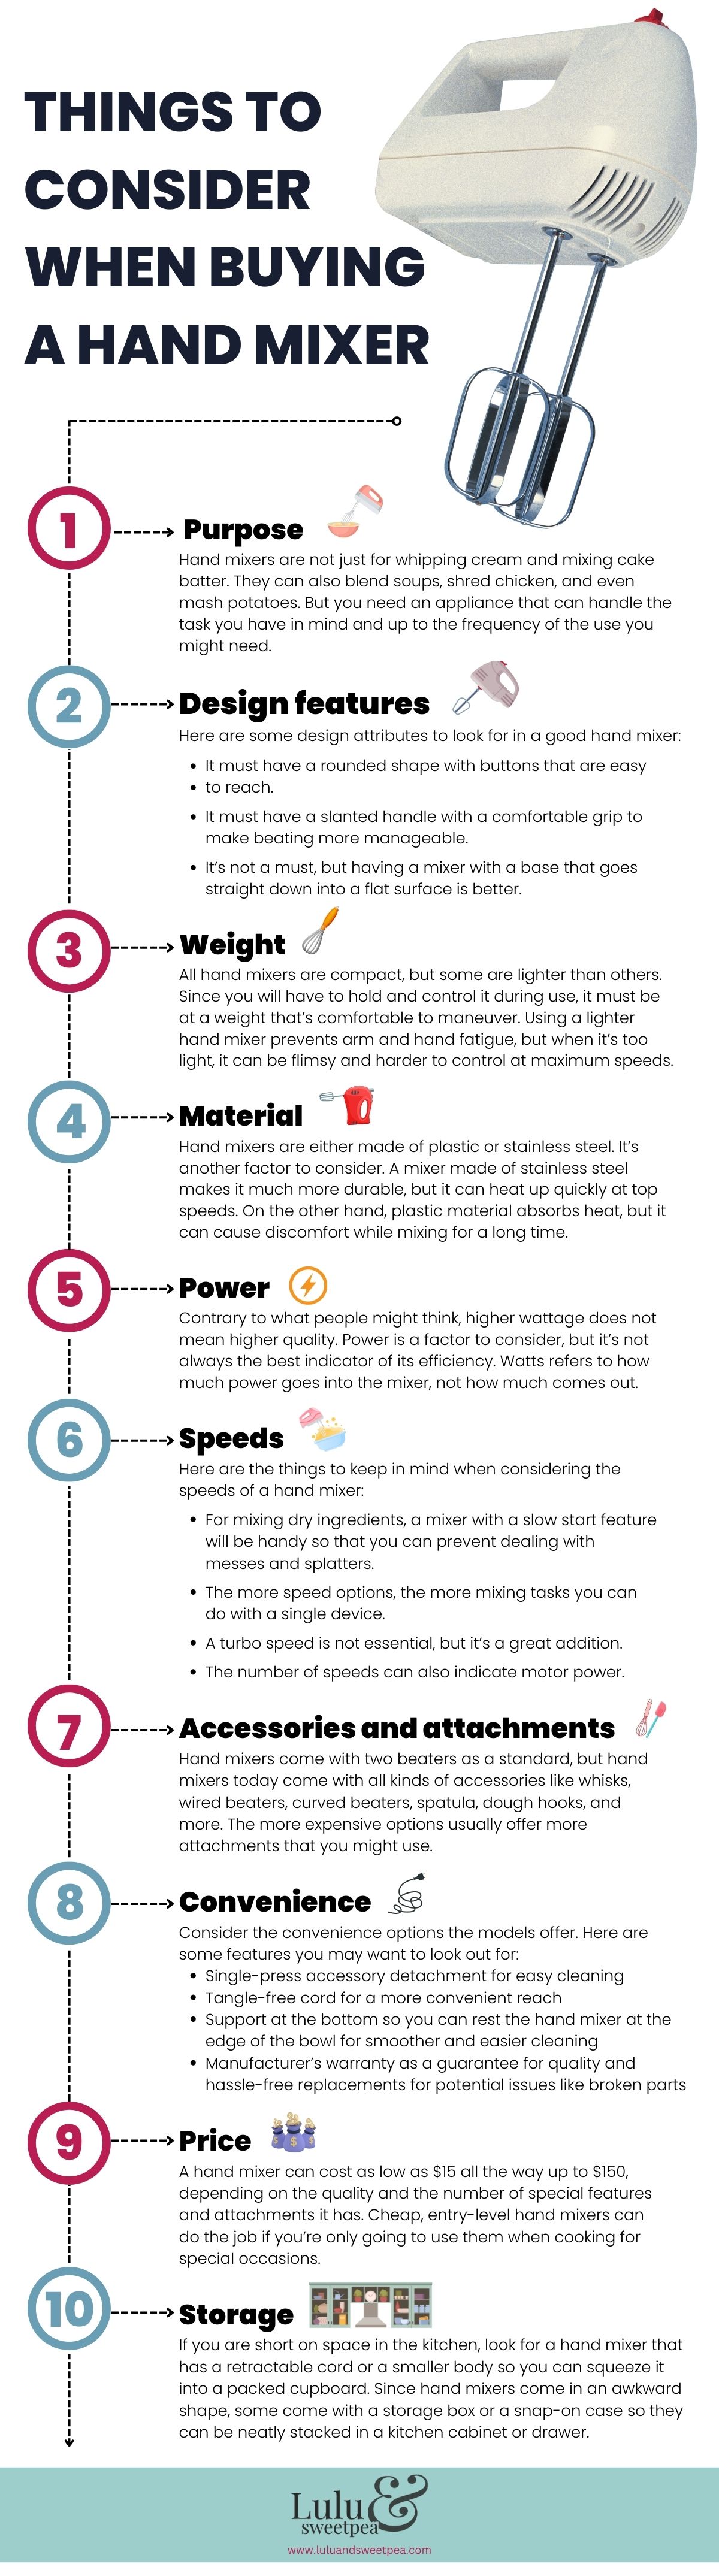
Cake batter can be mixed more effectively through the use of a hand mixer. If you are thinking of buying one, take a look at the graphic below to learn about the important things to consider:
4 ways to mix cake batter
1. The Creaming Method
For blending cake batter, the creaming process is most frequently used. It helps the dough rise and integrates a lot of air, resulting in a stable but delicate final product.
For optimal results, all components should be at room temperature. The butter and sugar should first be combined, then the eggs should be added one at a time. To ensure that everything is mixing equally, combine the dry ingredients in alternating batches with the wet ones.
2. Reverse Creaming
Another typical technique for blending cake batter is the reverse creaming procedure, sometimes referred to as the “paste” mixing method. It produces a cake that is delicious and substantial and is perfect for slicing and stacking.
Then, until the batter is crumbly, mix the soft butter and lukewarm liquids. then gradually add milk. Eggs were then added one at a time. In comparison to the creaming procedure, the batter will be thicker.
3. The Blended Way
The best method for mixing cake batter from a box or for a cake batter that has a lot more liquid than other kinds is to blend the components. The mixer bowl is filled with all the components, and then more liquids are added one at a time. This approach is frequently employed in industrial kitchens since it is quicker and simpler to control.
4. Creating Light, Airy Foam
A unique mixing method is used to generate foam cakes, such as angel food cakes. Whip egg whites to integrate as much air as possible; if the mixture needs more solidity, add cream of tartar. Add the flour gradually and mix briefly to give the batter volume.
Cake Baking Tips
Preheat the oven
You do not want to finish preparing the lovely cake batter and realize that you forgot to prepare the oven. So be careful to warm it before beginning the ingredient mixing process. Be sure to familiarize yourself with your oven because they are all different. Use an oven thermometer to confirm the temperature setting in your oven.
Do not over-mix the batter
Less is more when it comes to cake batter mixing. An overly stirred cake may become thick and flat. To prevent deflating the light and fluffy texture you achieved when creaming the butter and sugar together, do not overmix the mixture after adding the dry ingredients. You can proceed once all of the dry and wet ingredients have been incorporated and there are no flour clumps left. Do not give in to the urge to mix more.
Prepare your pans
Little preparation may go a long way. The bottom of each pan should be lined with a circle of parchment paper, and the sides should be greased with nonstick baking spray for flawless layers. To get clean cake edges and a rapid, simple release, I like to use a baker’s spray that contains a little amount of flour. After preparing your pans, distribute the batter among the cake pans in a uniform layer. Place each pan on a digital kitchen scale and weigh each layer, adding or removing batter until they are all the same for absolutely even layers.
Chill the cake before frosting
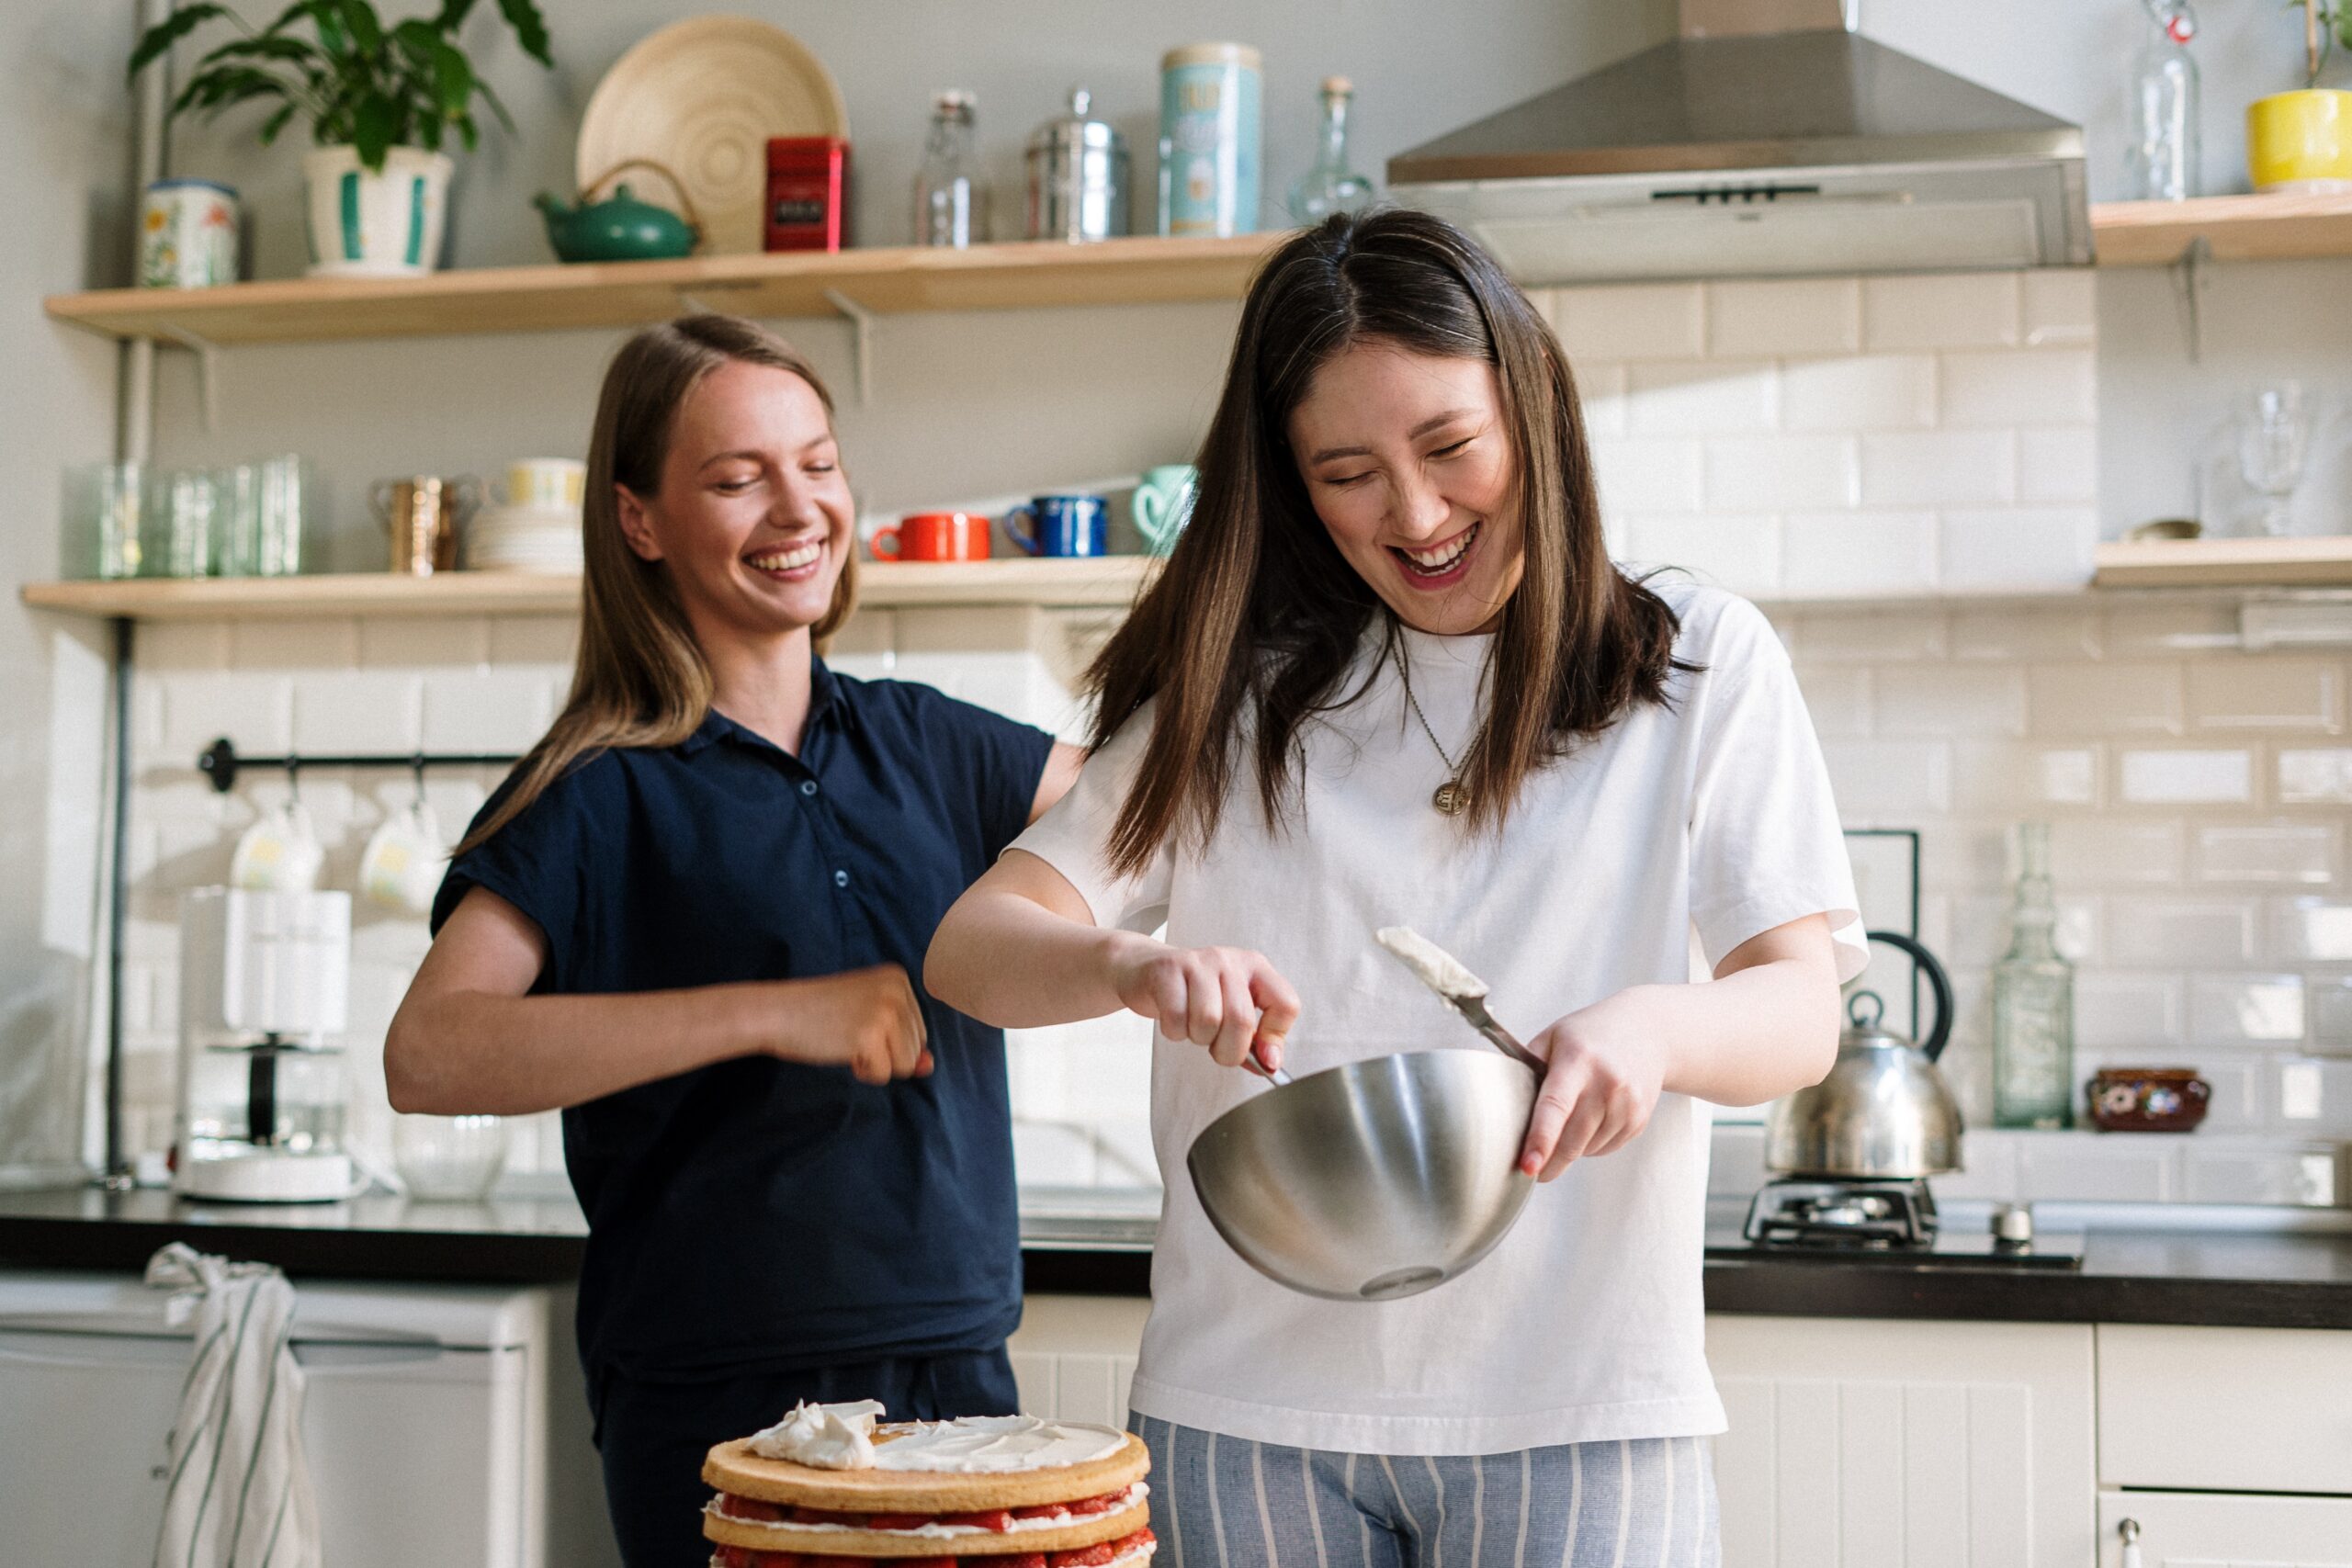
When a layer cake is baked properly, it will be light and soft, which might make it challenging to stack and frost when the cake is put together. The majority of inexperienced bakers hurriedly frost their cakes before the layers have had time to properly cool. The tiers come together so much more easily for me when the cake layers are cool. Wrap each cake layer in plastic wrap individually and set it flat in the fridge or freezer for at least an hour after the layers have cooled to room temperature. After the layers have chilled, take them out of the plastic wrap and start stacking and icing the cake. Keep in mind the crumb coat, which helps keep those bothersome crumbs within. The crumb coat should be set after 15 to 30 minutes in the freezer again. Add decorative sprinkles, fresh flowers, or fruit to the last frosting layer before continuing.
Give cakes space in the oven
Avoid baking the layers of a layer cake very near to one another in the oven. If you do this, the cakes will bake into one another or have misshaped layers because they will rise toward one another as they bake.
To prevent this, you might need to bake the layers individually, depending on the size of your oven.
Do not peek! Keep the oven door closed
Although it can seem tempting, avoid opening the oven door while your cake is baking. Heat will escape via the opening, bringing the oven’s temperature down. The cake will need to bake for a different period as a result, and the temperature shift may also cause the cake to sink or collapse.
Do the toothpick test
Using a toothpick to test the doneness of a cake is the simplest and most reliable method. Put a toothpick into the cake’s middle. The cake is finished if the test is clean. The cake requires extra time if the batter sticks to it after baking.

Cooling and Frosting Tips
Let the cake cool completely
This may seem obvious; we are frequently pressed for time. It is a recipe for disaster to assemble and/or decorate cakes before they are entirely cool. The icing will melt since the taste has not fully settled.
Despite what some other bakers may think, always allow your cakes to cool fully inside their pans. Likewise, when making fast bread, cupcakes, and other baked goods. The pan should be placed on a wire rack and left alone to cool entirely. The rack and pan may occasionally be put in the refrigerator to hasten the chilling process if you are in a rush.
Let the cake cool in the pan for 30 minutes if you are in a rush. Then take it out of the pan and freeze it for a further 45 minutes on a baking sheet. Depending on the size of the cake, it takes a little over an hour for it to reach room temperature.
Utilize a crumb coat for a smooth frosting surface
Before adding the final layer of frosting to a cake, a crumb coat is used as a protective coating of icing. Its function is to contain any crumbs that may have come loose and to create a flat surface for the final frosting coating.
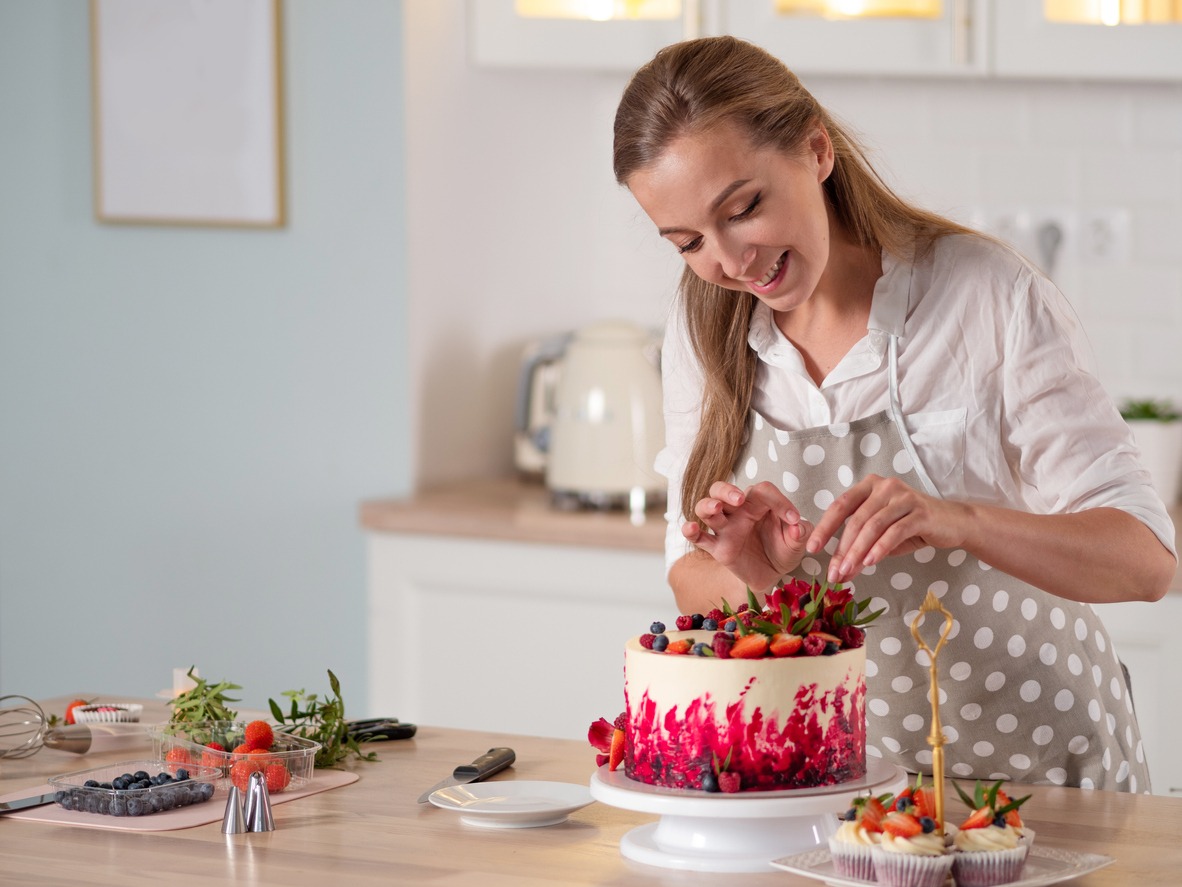
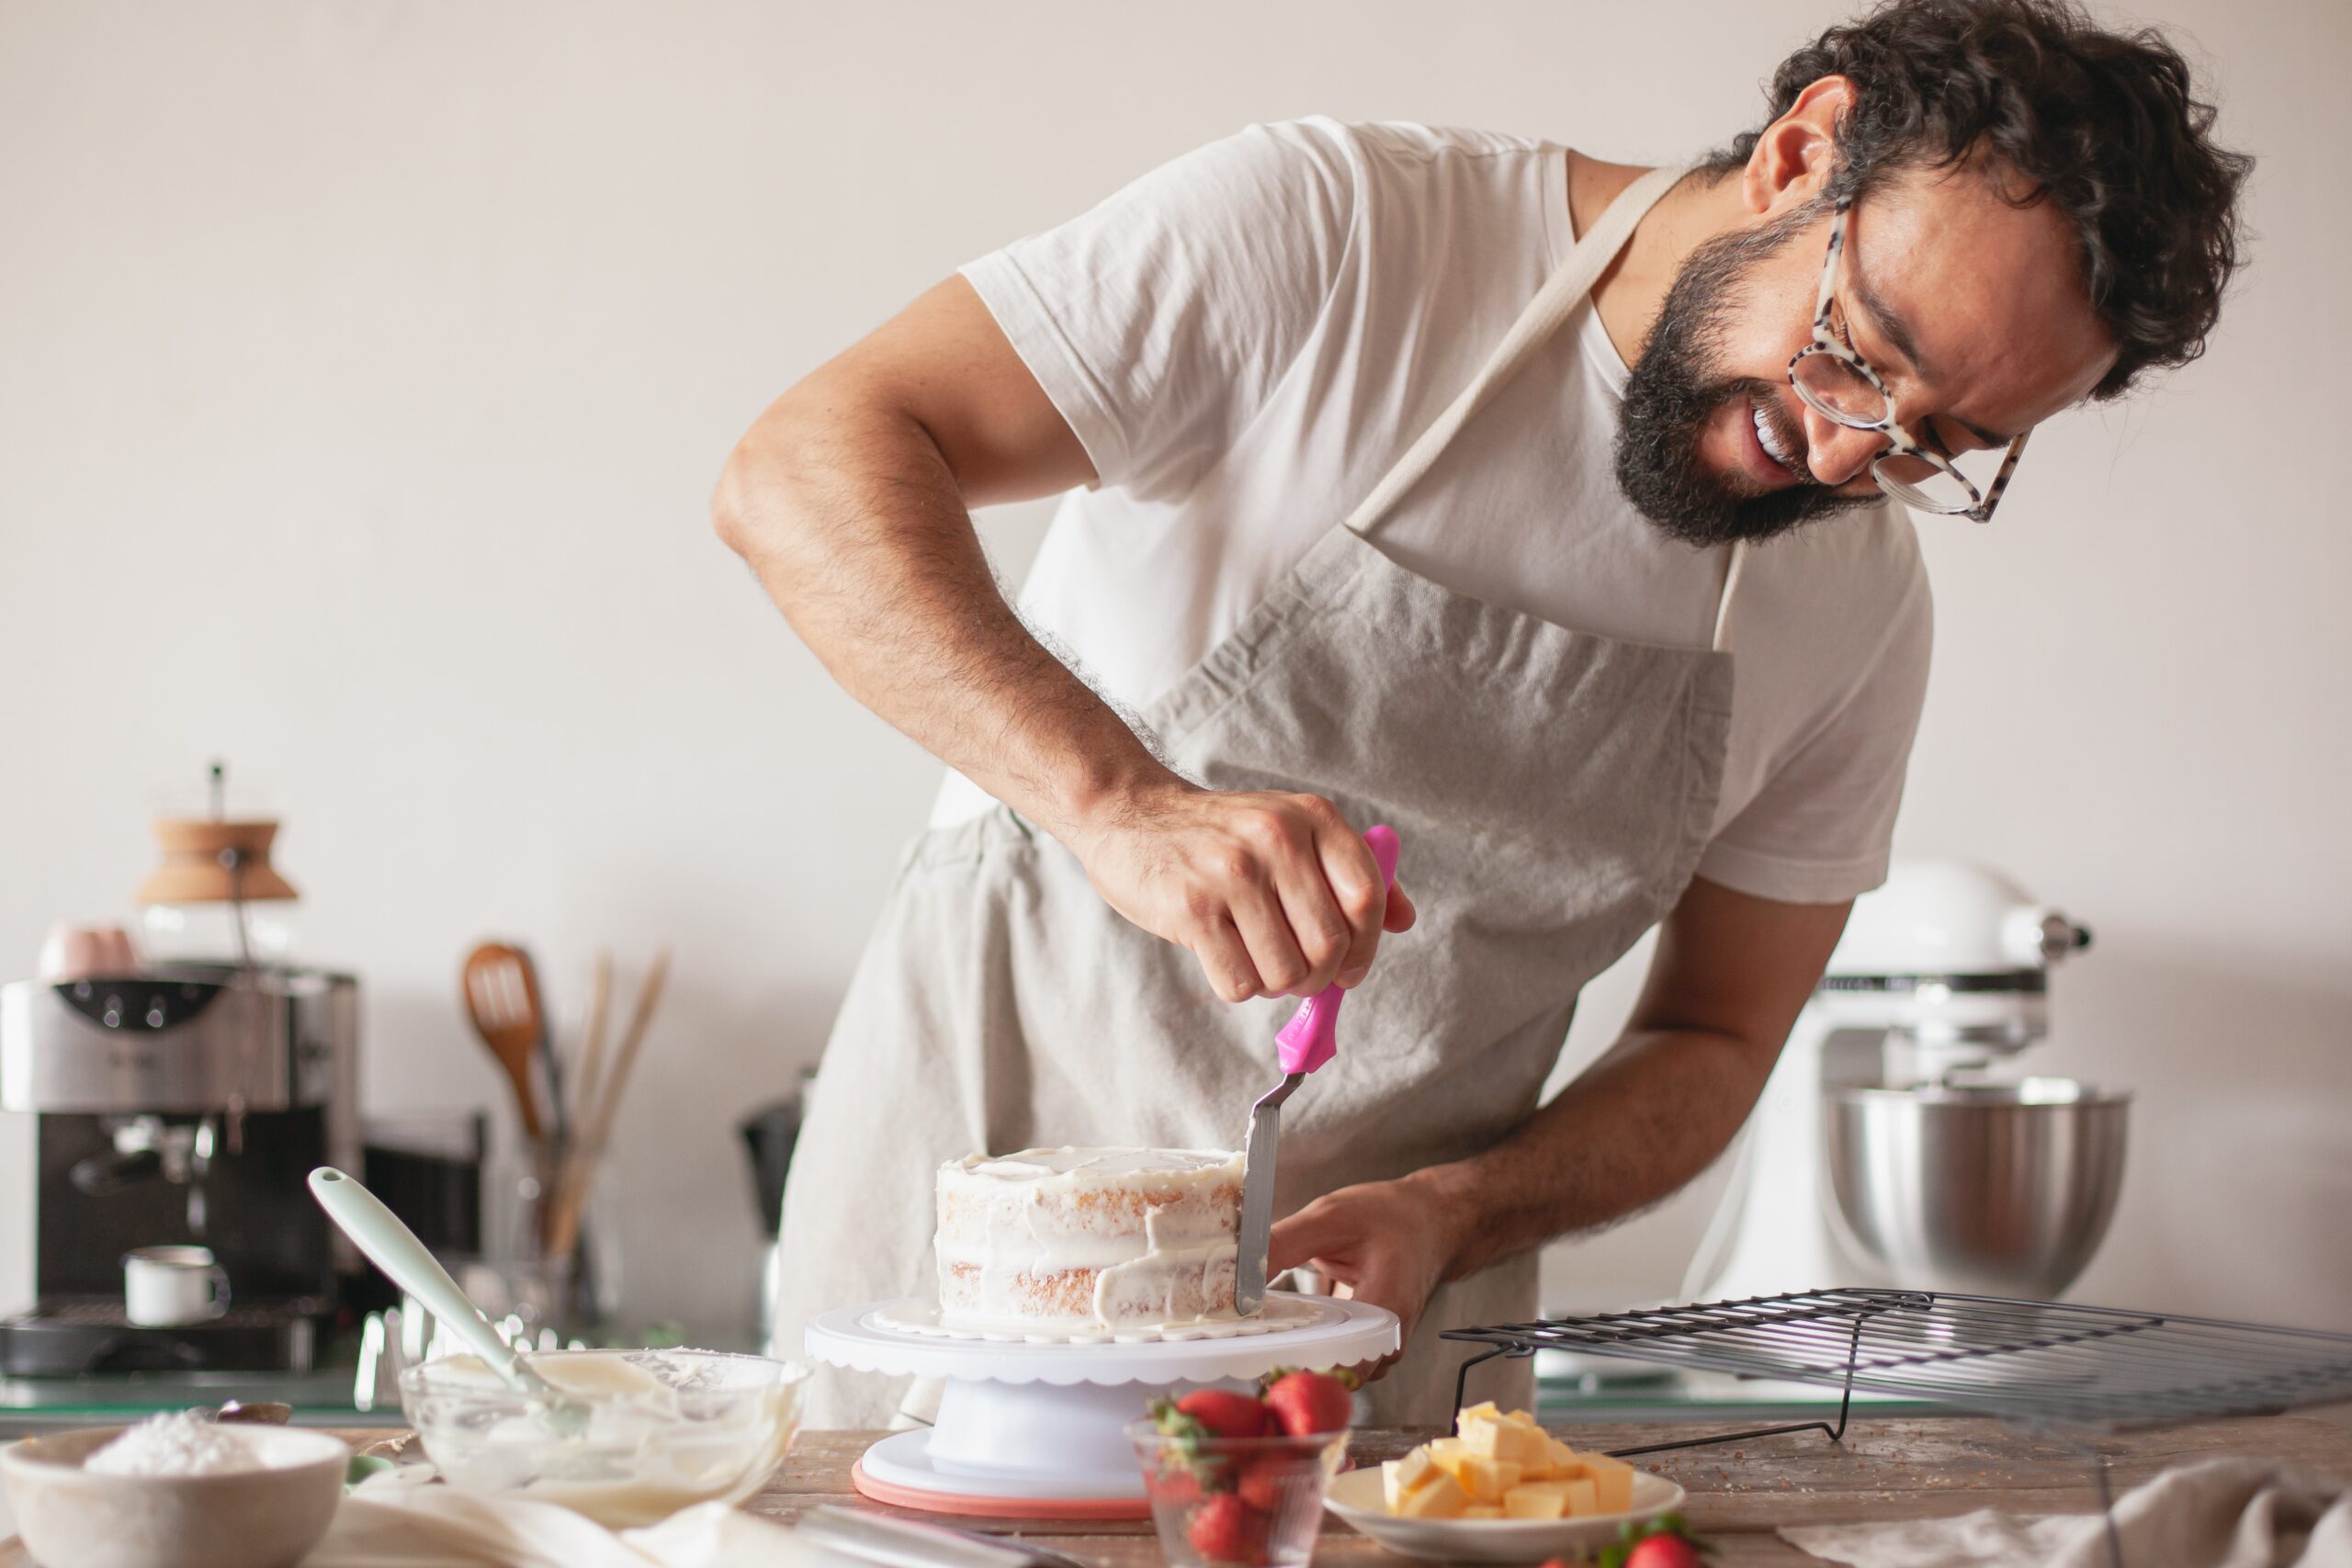
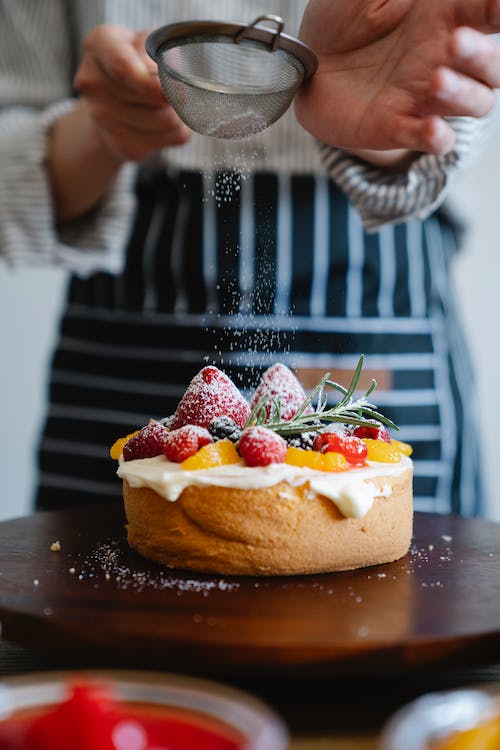
Decorate the cake with creativity and precision
Planning, perseverance, and attention to detail are all necessary for creative and accurate cake decorating. First, pick a design that is appropriate for the situation, the recipient’s tastes, and your degree of expertise. Amass all the equipment you will need, including fondant, piping bags, tips, spatulas, food coloring, and embellishments. Before beginning, make sure the cake is cold, level, and crumbs-free. Take your time and gently pipe or apply the frosting, pausing regularly to assess your work. Use fondant, edible embellishments, and piping methods to add decorations. To acquire the desired appearance, fine-tune your design and make any required modifications. Finally, place the cake on a serving tray and let everyone eat it.
Solving Common Cake Baking Issues
Not everyone can achieve baking perfection. Everyone is aware that baking does not always turn out as expected. We daydream about creating a cake that is light and fluffy, but when we bake it, it turns out to be a thick block that is far from perfect.
Taking the pan out of the oven before the timer sounds is the second most frequent mistake made when baking a cake. The wonderful golden color you envisaged emerges just as everything seems to be going fairly well, and you pull the pan out of the oven to find it is still unbaked. Only after you left were you dissatisfied.
So, let us look at some common cake-baking issues.
Too Dense
There are a few possible explanations if you have ever made a thick cake that never seems to rise correctly. It is possible that cake flour was used instead of all-purpose flour or that there was too much sugar utilized, but the most typical cause is that the mixture did not have enough air introduced into it. Here are some suggestions on how to re-aerate your batter while baking a cake.
Mixing the mixture is the first step in baking a cake. If you are using oil in your recipe, take your time. Allow air bubbles to grow!
Another factor in thick cake is a subpar leavener. Perhaps your baking soda and powder are ineffective and out of date. You will need a good leavener to help the batter rise and hold the air throughout baking. A cake that has risen nicely will not be dense. A cake with too much flour will be heavy and dry, and it will collapse. Use cake flour rather than all-purpose flour to keep your cakes light and fluffy. If you do not have cake flour on hand, feel free to substitute all-purpose flour directly from the bag in place of it in this recipe.
Your cake will rise like a champ in a hot oven. For the best results, preheat the oven for at least 20 minutes before baking your cake. Pre-heat your convection oven to at least 325°F rather than 350°F if you have one. When testing your oven using an oven thermometer, take in mind that a fan-forced oven requires less time to reach temperature than a traditional standard oven.
Cake overflows
The batter in a burned pan seems to rise up and over the edge due to the heat from the oven, spilling out over the oven’s bottom (and you know what that may lead to).
The easiest solution to this cake-baking issue is to use less batter in your pan. A decent general rule of thumb is to fill a cake pan halfway to two-thirds of the way up the edges.
A sunken cake
Even while the outside of your cake could be lovely, there might be an issue within. This occurs more frequently than you may imagine. Two fast checks can save a cake from collapsing:
1. Insert a toothpick or knife into the cake’s center. If it comes out cleanly with no sticky, wet batter on it, your cake is done through; if it comes out gooey or wet, give it another three to five minutes in the oven and recheck until thoroughly cooked.
2. Check for doneness with an instant-read thermometer, ideally a digital one. When the cake is fully cooked, insert a thermometer several times into the center; the temperature should be between 180- and 190 degrees F.
Sunken cakes during baking can be caused by a variety of factors. They could be overbaked, underbaked, or if you overfill the pan with batter. Make sure your oven is set to the proper temperature, try not to open and close the oven door too frequently, and use the ingredients exactly as recommended to avoid this issue; otherwise, your cake will sink!
Additionally, if you use too few eggs or flour, your mixture won’t be stiff enough to hold its shape and your cake will sink. Finally, it can be brought on by an air bubble that was created while mixing and rose in the oven. For your cake to cool and settle properly, popping this bubble is necessary to prevent a sunken appearance.
Stuck to the pan
When a cake adheres to the pan, it’s one of the most typical baking issues with cakes. Although there are many causes for this, one simple fix is to use shortening rather than cooking spray to oil the bottom of your pans. You’ll be able to consistently enjoy a wonderful dessert by preventing your cakes from becoming stuck!
Crusty edges
You might not realize it, but non-stick grease spreads far and wide. You’re probably using the pan spray or oil incorrectly if your cakes taste burned and dry after they’ve been baked. The location of the cooking spray is crucial when greasing a cake pan; if you use too much on one side, the cake will cook unevenly. To ensure consistent heat distribution from both sides, spray both sides with a thin coating of canola oil cooking spray.
Too stiff cake batter
A thick, rough texture will result from adding too much flour to the cake mixture. The excessive addition of gluten, which most frequently occurs while over-mixing, is the primary cause of the stiff, sticky batter. Make careful to scrape down the edges of your bowl while you mix to avoid this issue. Mixing for too long can also result in the addition of too much gluten to your dish.
Cake sides caving in
Three factors might cause cake sides to sag inward: liquid, oil, or moisture. Make sure your cake batter recipe calls for the proper amount of liquid and that you accurately measured any liquid components. Avoid making the cake too wet or greasy. Next, be sure to oil your pans with a minimal quantity of butter or pan spray. The cake must be able to “climb” up the sides of the pan to rise, even though you want it to simply pop out of the pan once it is baked.
If you have ever let a cake cool in the pan for an extended period only to find that it has a sunken top, you know how annoying it can be. The cake should be taken out of the tin as soon as it comes out of the oven and placed on a wire cooling rack. This is the best course of action.
Cake top cracked
If you are not sure how to determine if your oven is too hot or what to do when it does, cracked cakes can be painfully frequent. Utilizing an oven thermometer is a straightforward fix. A particular hole on the back of your appliance or next to the pilot light is where the thermometer is put.
Conclusion
After exploring the different tips for baking, it can be summed up that baking requires careful attention to detail. It is both an art and a science that is very important to follow recipes perfectly, use high-quality ingredients, and other details such as preheating the oven and measuring the ingredients accurately to achieve great results. Patience is the key when it comes to baking. Anyone can be a skilled baker and make delicious treats that family and friends will love.